Instagram

Instagram

1. Introduction

Instagram as a channel is currently in beta-phase and hence, has certain pre requisites that need to be met before deploying a bot on Instagram.

Visit the documentation to ensure that your Instagram account meets all desired conditions set by Facebook.

Note: Instagram setup will not work, if all the pre requisite conditions are not met. Feel free to contact us on [email protected] for any issues.

2. Availability

Instagram as a channel will be available for customers who have subscribed to Business plan and above.

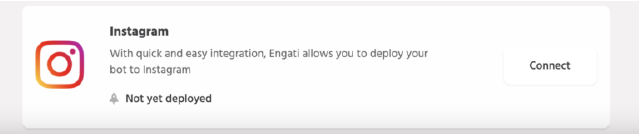
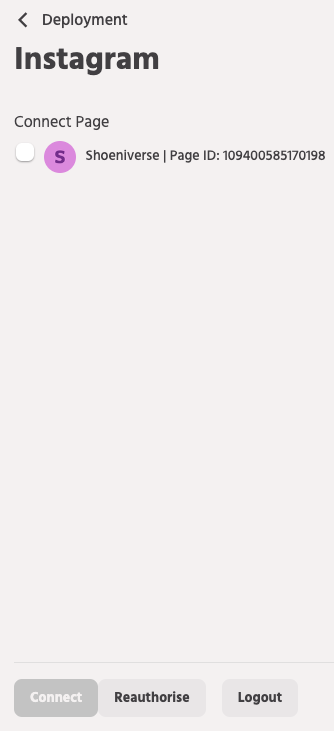
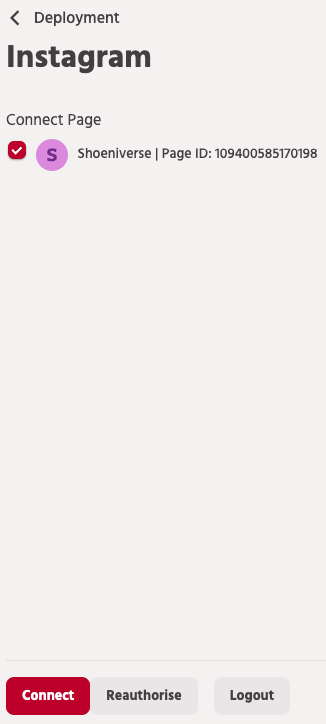
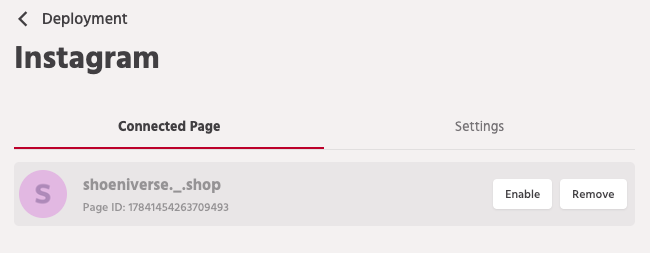
Customers can navigate to Configure>Deployment and then, click on Connect button besides Instagram to setup the account.

3. Setup

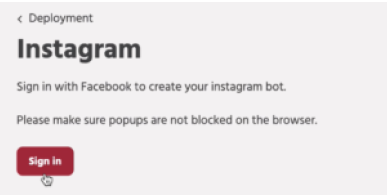
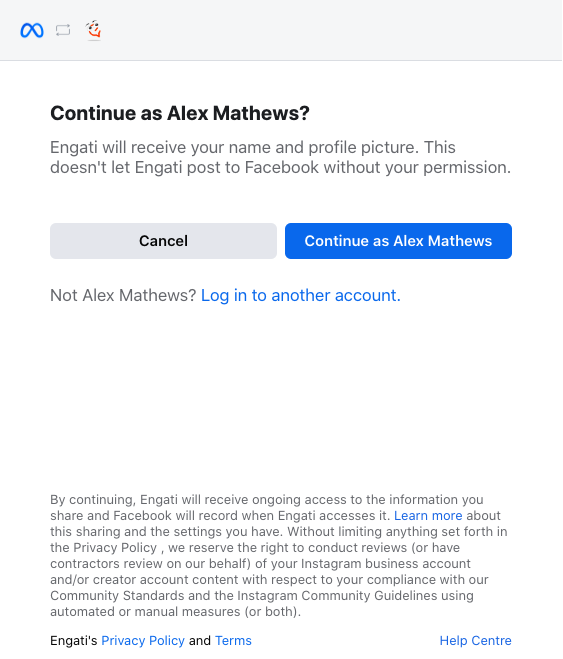
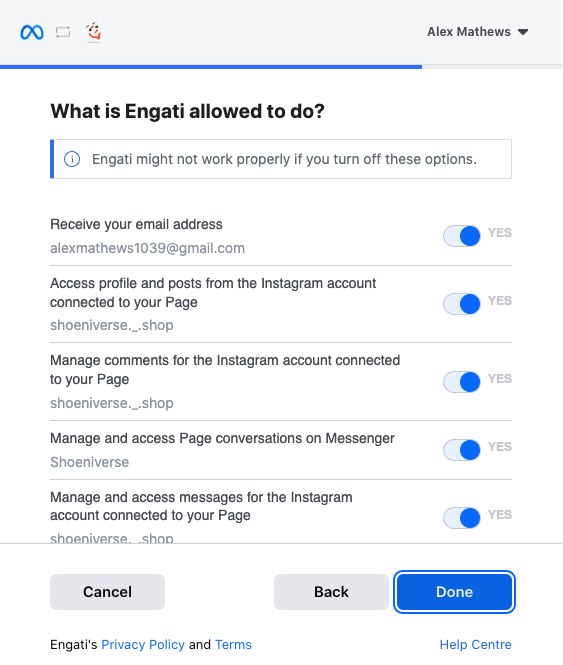
Follow the setup wizard to connect your chatbot to Instagram,

  • Check and ensure that all the pre requisite conditions are met. Refer the documentation here to know more
  • Click on ‘Continue Deployment’

  • Click on Sign In and you will be redirected to Facebook OAuth

  • Login with Facebook username, that has been connected to Instagram Business Account. Please check and unblock pop ups from your browser settings besides the URL name on top right.

  • Give permissions to instagram business accounts to be connected. Click on Select All

  • Select the page(s) that have been connected to an Instagram business account. If already integrated, click on ‘Edit Settings’ to add more pages

  • Click on Next, grant the requested permissions and click on Done

  • You will be redirected back to the Elitbuzz portal, where you will see the connected pages. Irrespective of the pages selected, only the pages which have the Instagram account connected will be displayed.

  • Check one page and click on Connect button

  • A Confirmation message will be shown and the page will be shown under Connected Pages

  • You can Reauthorize if the password is changed or for giving permission for any additional pages
  • Clicking on Change Page will ask the user to select another page on which the bot is to be deployed. The Change Page option will be disabled if only one page is available
  • The Bot can be disabled by hovering on the connected page and clicking on Disable button

Clicking on Enable will activate the bot and no data will be lost and configuration will be lost

  • Clicking on Remove will delete the configured user data and context
  • You can also Logout and remove the page and Sign in again from a different account

4. Other Settings

4.1 Story Mention Setup

Follow the steps to enable Story Mentions on your chatbot to Instagram,

  • Check and ensure that all the pre-requisite conditions are met. Refer to the documentation here to know more
  • Go to Deployment, and click on “Edit Settings” on the Instagram channel

  • Click on the Setting tab, to setup story mentions

  • Select the path to be triggered, when the Instagram user mentions the Brand/Customer on their Story, The bot will trigger the path selected.

  • Click on the “Save Changes” Button, to Enable the Story Mention.

4.2 Story Reply Setup

Follow the steps to enable Story Reply on your chatbot to Instagram,

  • Go to Deployment, and click on “Edit Settings” on the Instagram channel
  • Click on the Setting tab, to setup story replies
  • Select the Reply type as Trigger a Path – If the trigger a path is selected as the reply type, when the Instagram user replies on the Brand/Customer’s Story, The bot will trigger the path selected
  • Smart Response – If the smart response is selected as the reply type,​​ all story replies will be redirected to FAQs. Navigate to the FAQ section in Train, to train the bot to recognize certain keywords and trigger a certain path or message. In case of no keyword matches, the default path will be triggered.

  • Click on the “Save Changes” Button, to Enable the Story replies
  • When the Instagram user replies to the story, the following attributes as custom attributes are captured which Bot builder can use to build flows.
    • {{user_instagram.story_media_url}} – Media URL of the story
    • {{user_instagram.story_media_type}} – Media type of the story
    • {{user_instagram.story_caption}} – Caption of the story

4.3 Reply to user comments and mentions setup

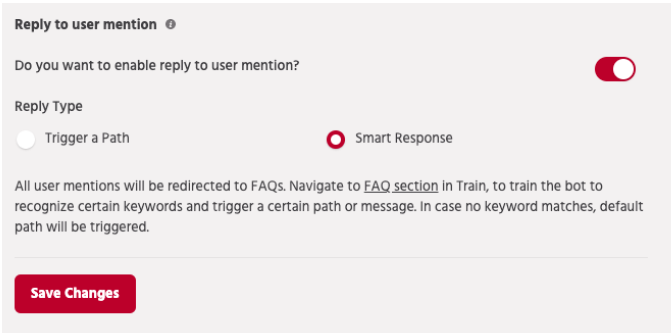
Follow the steps to enable Reply to user comments on your chatbot to Instagram,

  • Go to Deployment, and click on “Edit Settings” on the Instagram channel
  • Click on the Setting tab
  • Enable Reply to user comments
  • Select the Reply type,
    • Trigger a Path – If the trigger a path is selected as the reply type when the Instagram user mentions the Brand/Customer on the user’s Post, The bot will trigger the path selected.
    • Smart Response – If the smart response is selected as the reply type,​​ all user mentions will be redirected to FAQs. Navigate to the FAQ section in Train, to train the bot to recognize certain keywords and trigger a certain path or message. In case of no keyword matches, the default path will be triggered

  • When the Instagram user replies to the story, the following attributes as custom attributes are captured which Bot builder can use to build flows.
    • {{user_instagram.story_media_url}} – Media URL of the story
    • {{user_instagram.story_media_type}} – Media type of the story
    • {{user_instagram.story_caption}} – Caption of the story
  • Enable Reply to user mention

  • Click on the “Save Changes” Button, to Enable the Reply to user comments.

4.3 Instagram Ice Breakers

  • Introduction

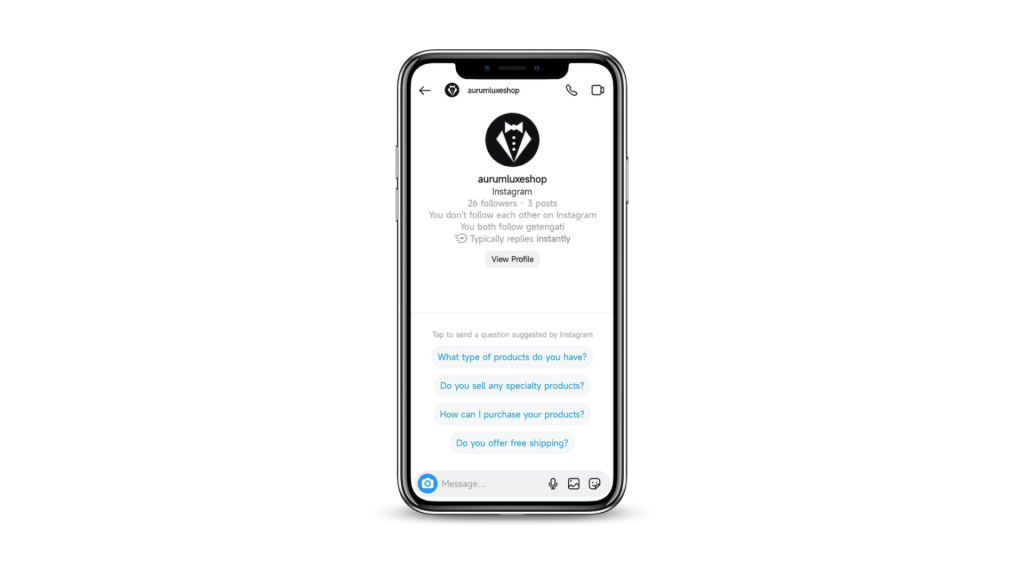
This feature provides the user with a list of questions (FAQs) to initiate a conversation with businesses. The user can set a maximum of 4 questions for the ice breakers. This feature is available only for Instagram business accounts. With the help of this feature, you can simplify answering customer queries.

  • Setup

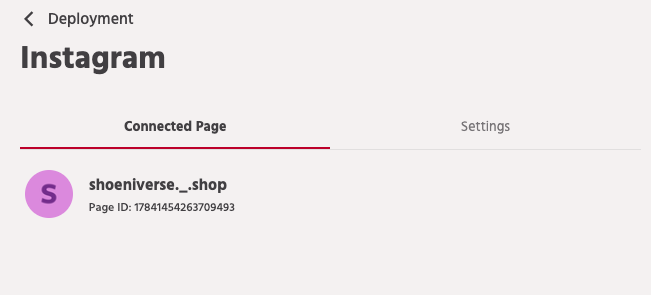
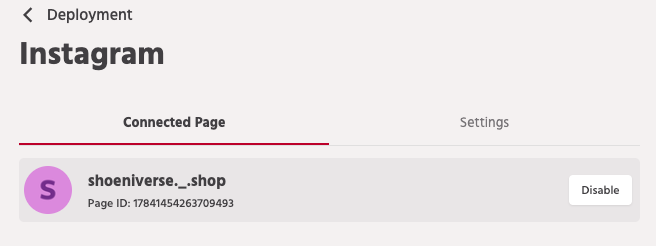
This feature is available only if the bot is deployed on the Instagram channel. You can set up this by navigating to Configure>Deployment>Instagram>Settings.

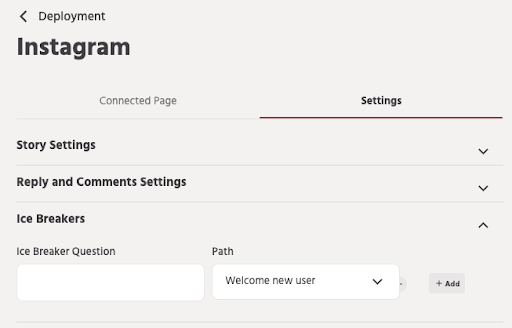
As a bot builder, you can configure the following on the Ice Breakers field:

  1. Ice Breaker Question: You can put any question related to your business profile that will help the customer to understand your business more.
  2. Path: You can select any path from the drop-down menu. This path will get triggered when the user clicks on that particular question (Ice Breaker). These paths will be the same which are those created by you in the Path builder.

Note: Maximum of 4 questions can be added.

You can delete the question by clicking on the action button ( – ) present right next to the path dropdown menu.

5. Enable/Disable Automation

5.1 To prevent the automatic triggering of the bot when a user submits a new query for the second time following their initial conversation with an agent, we have implemented a safeguard.

5.2 In a case where the agent is responding to a user query directly through the Facebook messenger or Instagram app, Elitbuzz’s one-view inbox provides the option for an agent to activate bot automation for that specific conversation. To enable it, they can simply click on the ‘Enable automation’ button.

5.3 Additionally, the name of the channel is visible under the agent’s message to identify its source. This helps differentiate between agent responses from various channels.